So BT4 Pre-Release has been available for a few weeks now, and this has Kismet Newcore.
Kismet is a brilliant tool for wireless detection, sniffing and more. The new Kismet has an improved interface, and also built in GPS goodness
As I blogged earlier I recently got a new GPS module, and my new 9dbi omni magnetic antenna has arrived, so no more excuses, time to set it up and have a go.
First off here is the setup I am using:
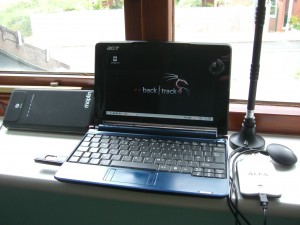
Acer Aspire One – 8GB SSD, 1.5GB Ram
2GB Cruzer USB Drive – Running BT4 Pre-Release
Alpha AWUS036H
BU-353 GPS Receiver
9dBi Magmount Omni Atenna
Maplin External Battery Power
So here we go with the steps needed to make this happen. (I found a helpful post on remote exploit that had alot of the code needed)
First off we boot up BackTrack 4. I have the USB wireless and gps modules already plugged in, but I dont think this is essential.
Once we are all booted and logged in we need to open a terminal window.
From here we need to get the GPS module assigned and activated.
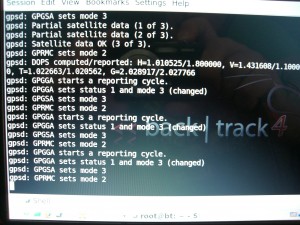
gpsd -N -n -D 3 /dev/ttyUSB0
GPSD is a service daemon that can monitor the GPS module. -N ensure you can see whats going on. -n ensures polling continues regardless of client connections. -D 3 sets the debug level to show you wants happening, and so you can spot errors. /dev/ttyUSB0 is the standard device reference for the USB GPS.
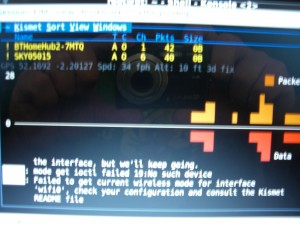
Next we open up another terminal window and fire up Kismet. I have not modified any of the configuration files, so this is all standard out of the box.
We are prompted to autostart the server, select OK for this and no options, and start.
I then close the console window.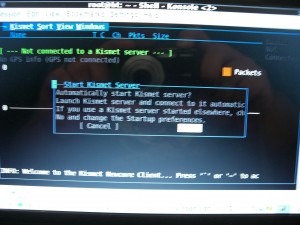
If not already connected, I goto the Kismet menu, and select connect, and connect to the localhost Kismet server.
My Wireless adapter is not on wifi0, so I need to Add a Source, again from the Kismet menu. My interface is wlan0. I add this and we are not seeing activity.
Now the easy bit, go for a drive and map those network devices ![]()
On your return we can now shutdown Kismet and GPSD.
Now if we go to our desktop, we will see a few Kismet Output files. The one we are looking for is the one with the .netxml file extension. (I have renamed mine to text.netxml to same me some time.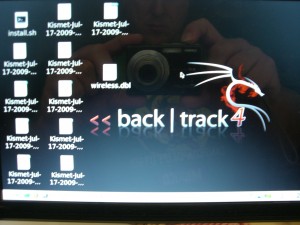
Now we open a terminal windows and we need to get giskismet to work its magic.
giskismet -x wardrive.netxml
giskismet -q “select * from wireless” -o output.kml
GISKISMET is a tool that can take the data gathered from Kismet, and make visual results. -x tells the application to gather the data from the defined .netxml file and pops it into a Db. -q defines the sql query to extract the information in quotes from the Db. -0 defines the output file name and extension. .kml is the file extension we can use to view the results in Google Earth and Google Maps.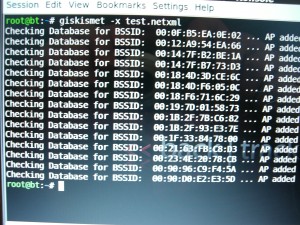
If you dont want to do this manually you can use the script that vvpalin put together, and I have hosted here for easy access.
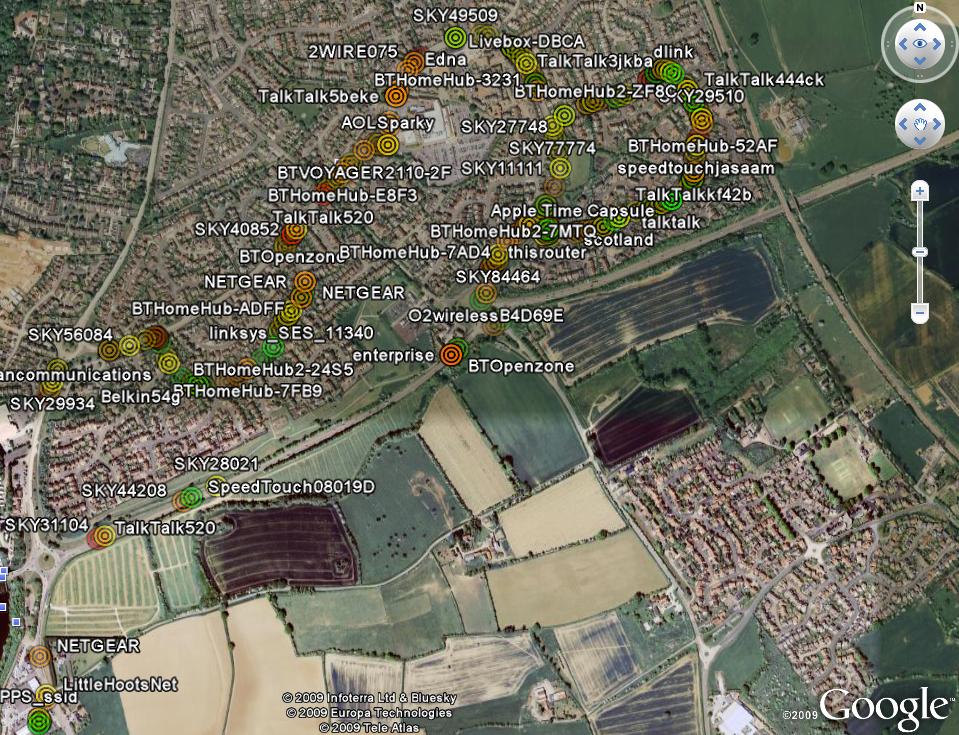
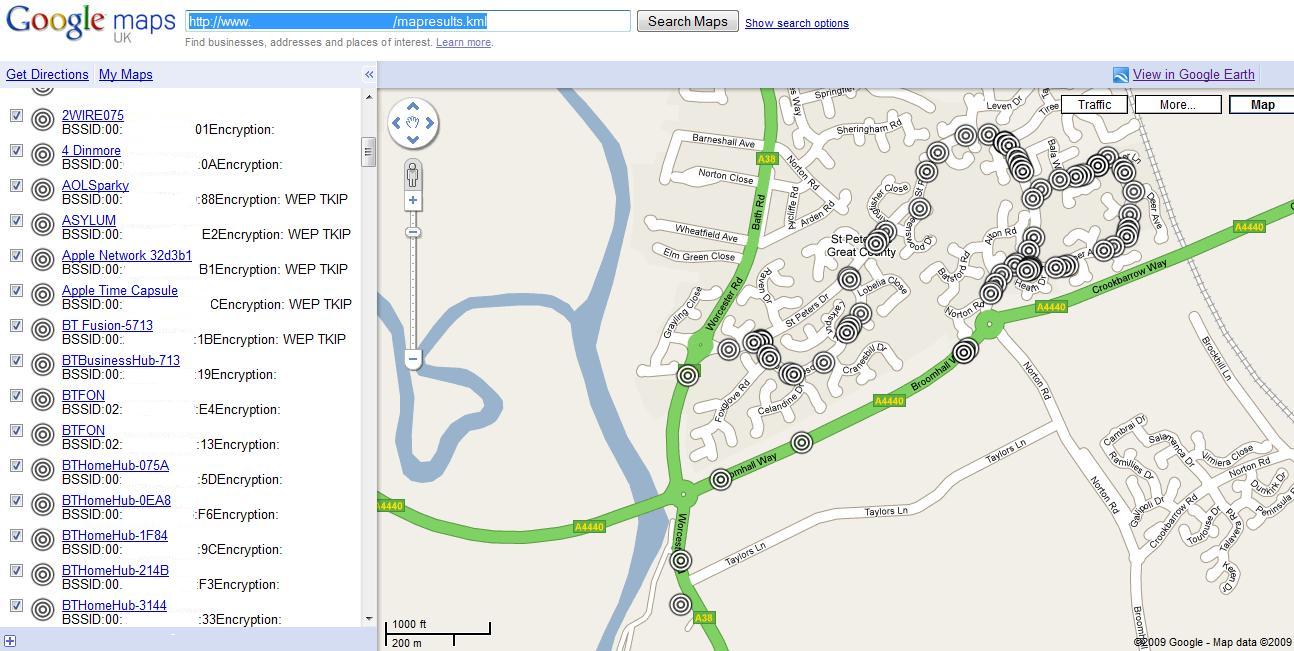
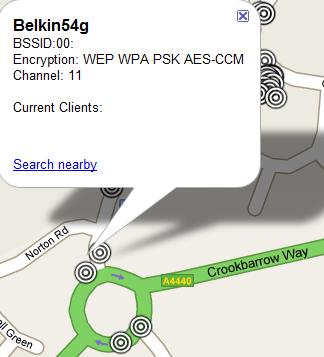
Once the files have been created you have two options. If you want to view them in Google Earth, simply fire up Google Earth and open the .kml file. If you want to view them with Google Maps, you need to upload the file somewhere and then search the hosted file location with Google Maps.![]()
Its impressive how this all works so easily out of the box really, excellent job once again by the Remote Exploit Team, and the application developers that make these amazing tools available for our use.
*Please excuse the reflection in the images above ![]()
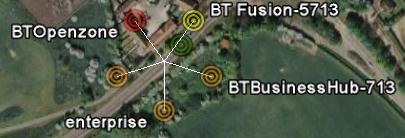
Here are some Google Earth and Maps examples from my quick testing of the new kit.
0 komentar:
Posting Komentar